
Start connecting a payment account to Syndra
What it is and why it matters
Syndra doesn't hold your money. To take card payments online, through invoices, payment links or booking deposits, Syndra needs to be connected to a payment account that you own with a payment company. Clients pay into that account, and the payment company pays out to your bank on its own schedule.
Until a payment account is connected, clients can't pay you online through Syndra. That's why this is one of the first things to set up, right after your calendar.
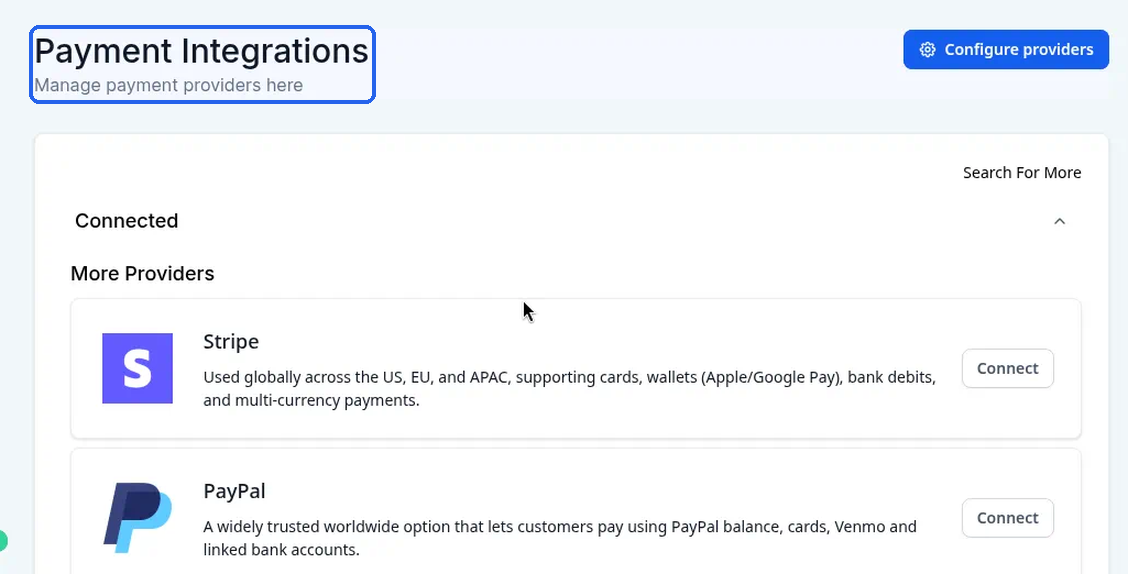
Payment accounts are managed on one screen in Syndra, Payment Integrations ("Manage payment providers here"). On an account where nothing is connected yet, it shows:
- Connected: payment accounts you've linked. It's empty until you connect one.
- More Providers: payment companies you can connect, each with a short description and a Connect button.
This article takes you from the Syndra menu to the moment you hand over to your payment company. We use Stripe as the example. It doesn't cover finishing the connection. That will be covered in a separate article (see What happens next at the end).
What you need before you start
- Access to Payments. If you don't see it, ask your account admin.
- An account with the payment company you want to use, or the details to create one. The payment company may ask for your business details and bank account information, so have them handy.
- The person who owns the business bank account should do this, or be on hand, in case the payment company asks for their details.
- Decide which payment company you'll use before you start. If you aren't sure which one fits your business, email us before you connect anything.
- A few minutes on a computer, with the browser window fairly wide. The row of Payments tabs is long, and on a narrow window the last tab, Integrations, can be cut off.
Steps
In the left-hand menu, click Payments.
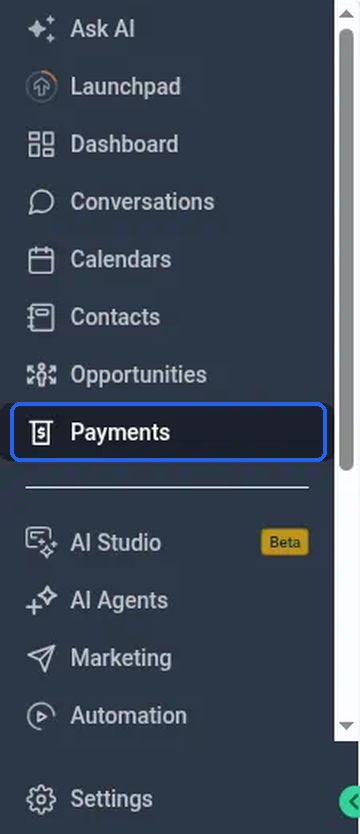
What you should see: the Payments area opens with a row of tabs across the top: Invoices & Estimates, Documents & Contracts, Orders, Subscriptions, Payment Links, Transactions, Products, Coupons, Gift Cards, Settings and Integrations. On a narrower window, Integrations may be partly cut off at the right edge.
Click the Integrations tab (the last tab on the right).

What you should see: a page titled Payment Integrations with the line "Manage payment providers here" and a Configure providers button at the top right.
Look at the Connected section first.
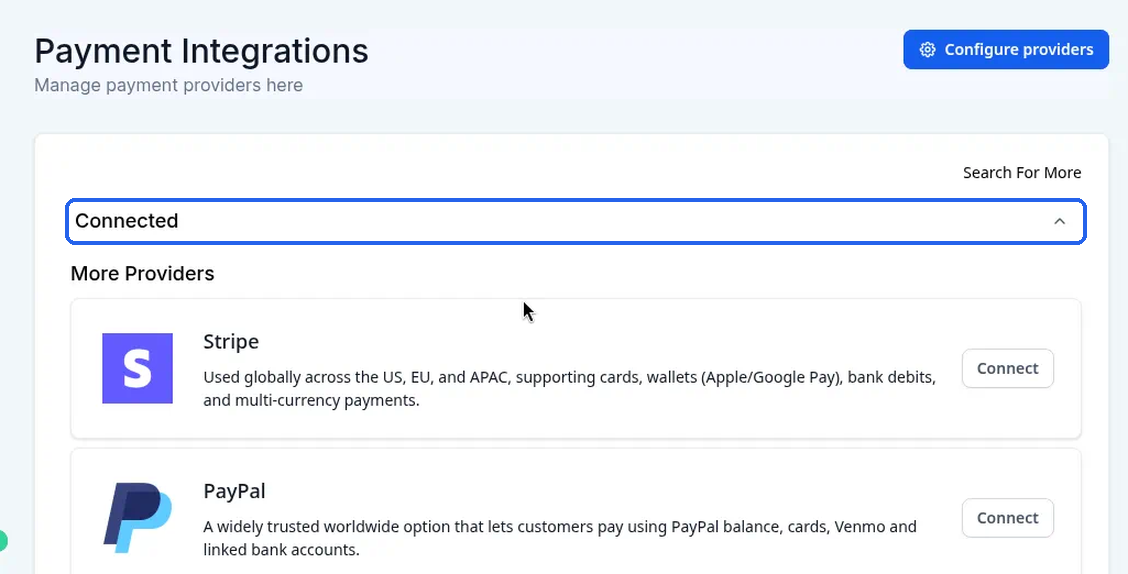
What you should see: if nothing is connected yet, the Connected section is empty, with More Providers right below it. If the payment account you want is already listed under Connected, you don't need to connect it again.
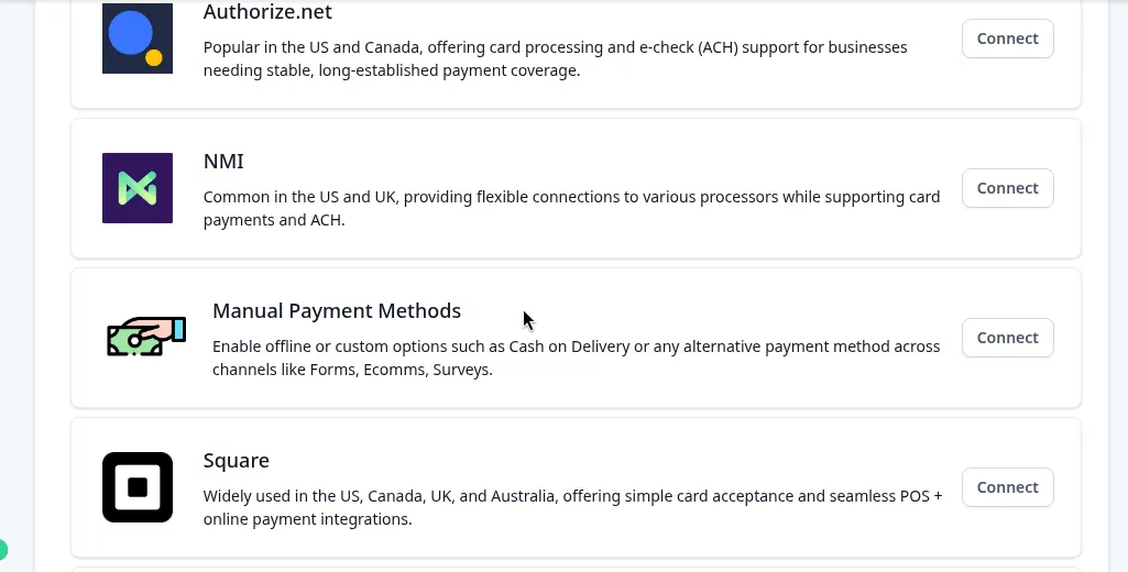
In More Providers, find the payment company you want. Each one has its logo, name, a short description and a Connect button on the right.
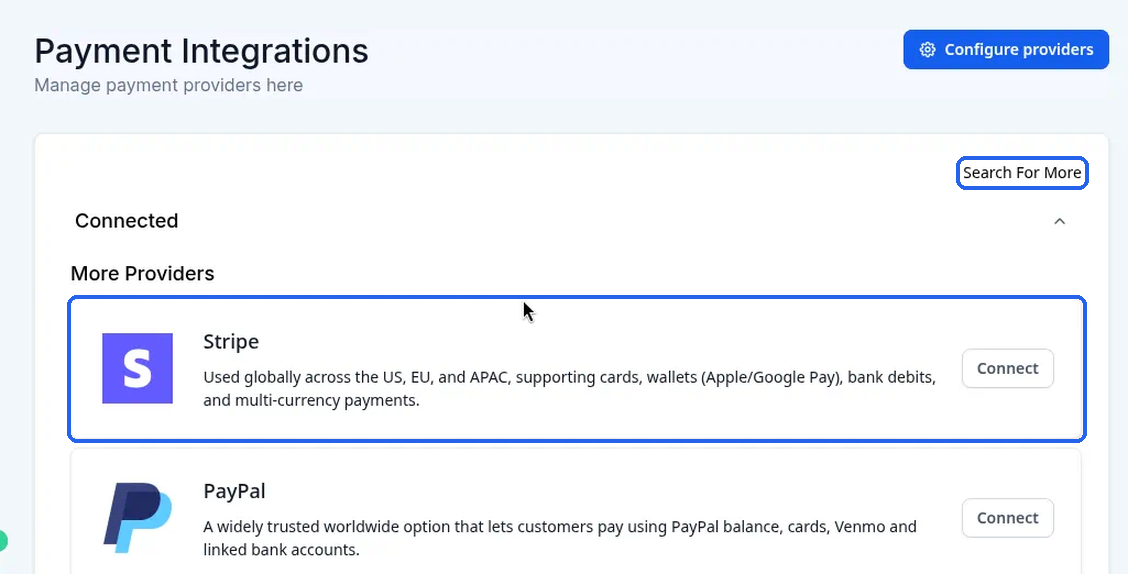
What you should see: the payment companies listed are Stripe, PayPal, Authorize.net, NMI, Manual Payment Methods, Square, Adyen and Mercado Pago. Scroll down to see them all. The short descriptions on each card are general. Check with the payment company that it works for your business and country.
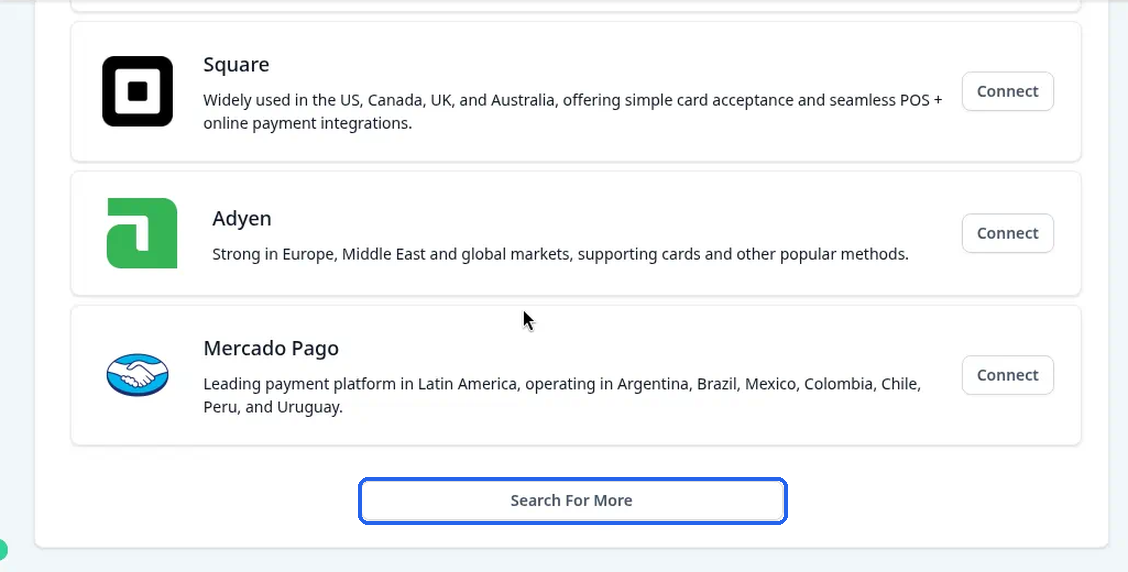
If you don't see the one you want, click Search For More. It's at the top right of the list and again as a button under the last card.
Click Connect on the payment company's row. In this example, that's the Stripe row at the top of the list.
What you should see (Stripe): a Manage Payment Integration screen opens in the same browser tab. It has a back arrow, a Stripe box with a Connect with Stripe button, and at the top right Manage Payment Methods and a greyed-out Set as default button. There's no test/live switch on this screen.
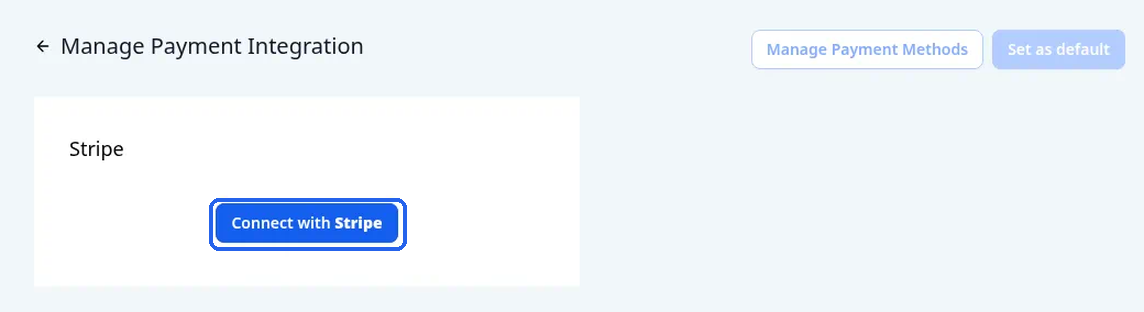
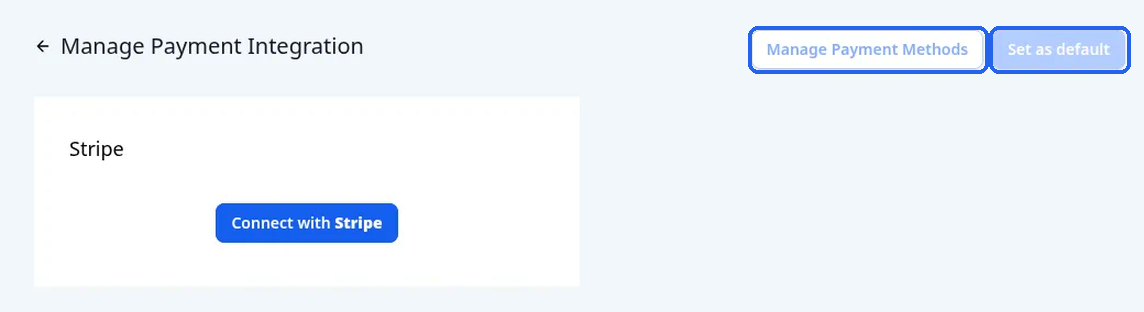
You don't need Manage Payment Methods or Set as default for this article. Before anything is connected, Set as default is greyed out, so you can't click it yet.
If you clicked Connect on a different payment company, you'll also see a Manage Payment Integration screen in the same tab, but it looks different for each company. See If you picked a different payment company below the steps.
Click Connect with Stripe.
From here, you continue with Stripe. What Stripe shows you, and anything it asks you to do, is up to Stripe and isn't covered in this article.
Use the payment account that belongs to your business, with the details you gathered under What you need before you start. If anything you're shown looks unfamiliar, or you're not sure which account to use, stop and email [email protected] before you go any further.
What success looks like
You've finished this part when:
- You reached the Payment Integrations page and saw the Connected and More Providers sections.
- You clicked Connect on the Stripe row and saw the Manage Payment Integration screen with the Connect with Stripe button.
- You clicked Connect with Stripe.
If you come back to Payments > Integrations before the connection is finished, the Connected section may still be empty. That's expected.
If you picked a different payment company
Every company in More Providers opens its own Manage Payment Integration screen inside Syndra, in the same browser tab. It's a full page, not a pop-up. Each screen has a back arrow at the top left next to Manage Payment Integration. You can open any of these screens and go back with the back arrow without typing anything, saving anything or clicking Connect.
This article doesn't cover filling in these screens, clicking Save, or clicking the Connect buttons on them. Here's what you'll see on each first screen, so you know you're in the right place.
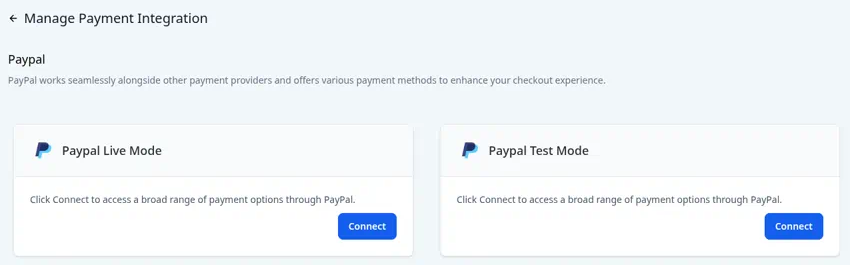
PayPal. A short introduction from PayPal, and two cards, Paypal Live Mode and Paypal Test Mode, each with a Connect button.
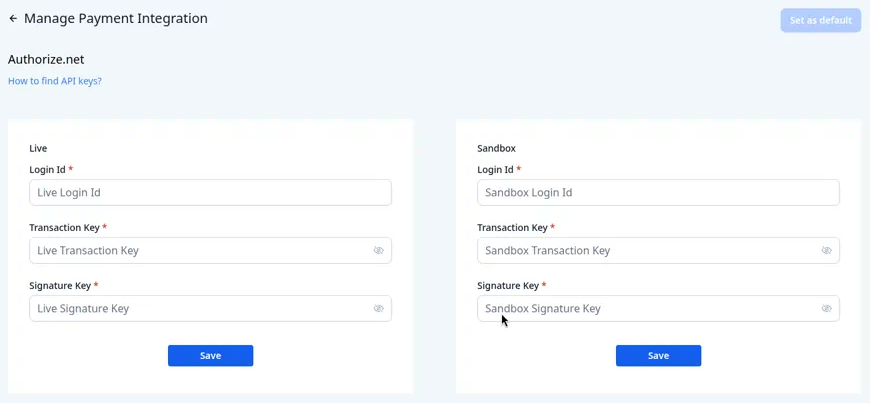
Authorize.net. A How to find API keys? link, a greyed-out Set as default button at the top right, and two boxes, Live and Sandbox. Each box asks for a Login Id, a Transaction Key and a Signature Key (all required) and has its own Save button.
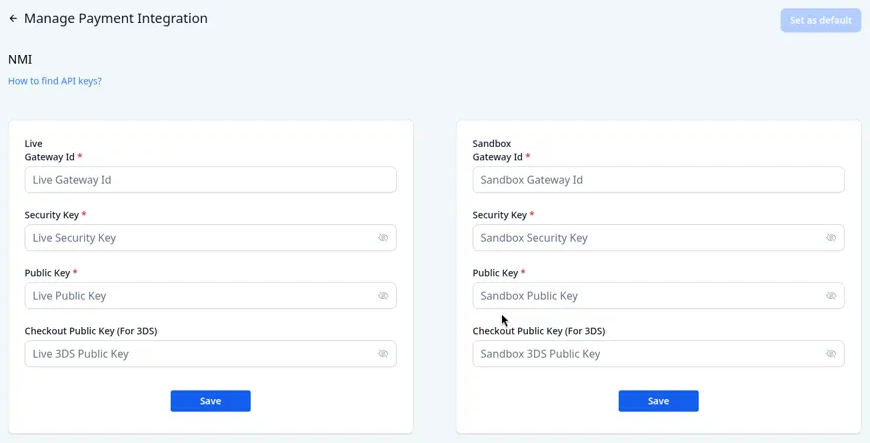
NMI. A How to find API keys? link, Set as default at the top right, and Live and Sandbox boxes. Each asks for a Gateway Id, a Security Key and a Public Key (all required), plus an optional Checkout Public Key (For 3DS), and has its own Save button.
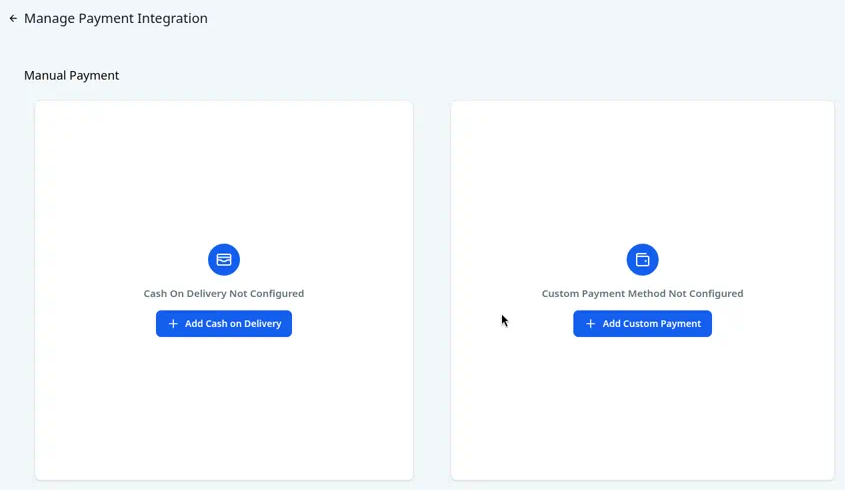
Manual Payment Methods. A screen headed Manual Payment with two boxes: Cash On Delivery Not Configured with a + Add Cash on Delivery button, and Custom Payment Method Not Configured with a + Add Custom Payment button.
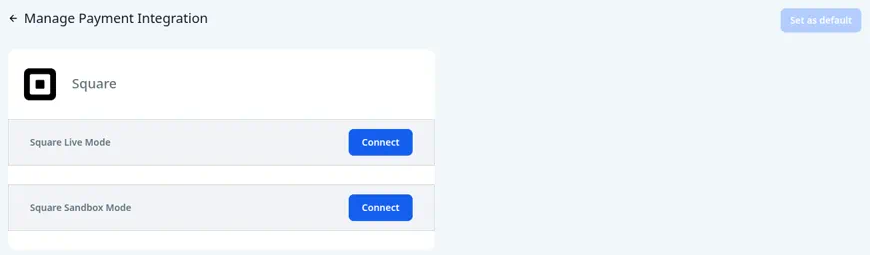
Square. Set as default at the top right, and two rows, Square Live Mode and Square Sandbox Mode, each with a Connect button.
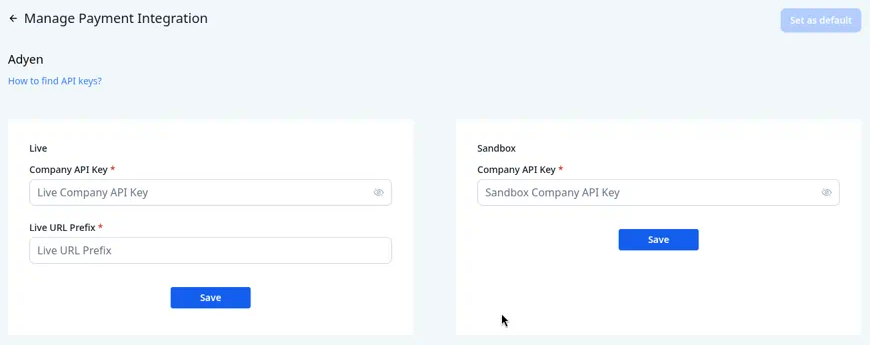
Adyen. A How to find API keys? link, Set as default at the top right, a Live box that asks for a Company API Key and a Live URL Prefix, and a Sandbox box that asks for a Company API Key. Each box has its own Save button.
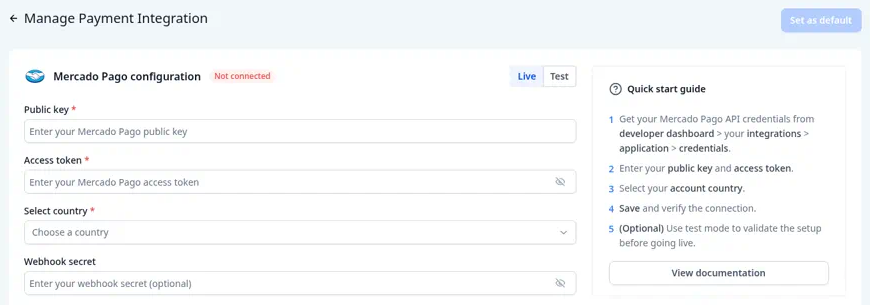
Mercado Pago. A Mercado Pago configuration box with a Not connected label and Live and Test tabs. It asks for a Public key, an Access token and a country (Select country), all required, plus an optional Webhook secret. There's a Save button at the bottom of the page. On the right, a Quick start guide lists five steps and has a View documentation button.
If you're not ready to go further, click the back arrow next to Manage Payment Integration to return to Payment Integrations. If you need help with any of these companies, email [email protected].
The Configure providers button
At the top right of Payment Integrations there's a Configure providers button. You don't need it to start connecting a payment account, but here's what it opens, in case you click it.
It opens a full page headed Manage provider configurations, with a short line about choosing a provider for each channel. There are Live and Test tabs. The Live tab shows a table with two columns, Name and Payment provider. The rows are Funnels - one step order forms, Funnels - two step order forms, Forms, Stores, Calendars, Invoices, Invoice auto payment, Payment links, Courses, Communities and Surveys. On an account with nothing connected, every Payment provider cell is empty with a small +. There's no save button on the page.
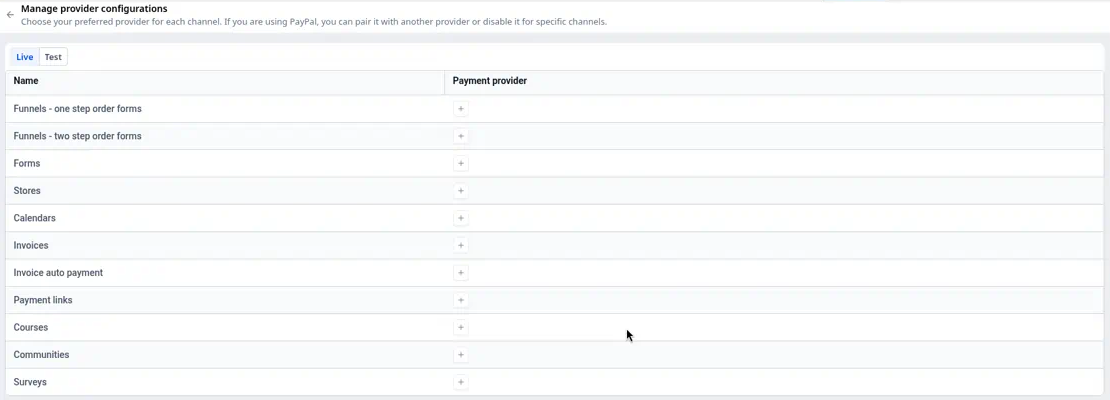
You can look at the Live tab and leave without changing anything, using the back arrow next to the heading. Choosing a provider in this table isn't covered in this article.
Common mistakes and troubleshooting
You don't see the Integrations tab.
It's the last tab on the right, and on a narrow window it can be cut off. Make your browser window wider or scroll the tab row. If it still isn't there, your login may not have access to Payments. Ask your account admin, or email us.
Clicking Connect on Stripe didn't open Stripe.
That's expected. Syndra first shows its Manage Payment Integration screen. Click Connect with Stripe on that screen.
Set as default is greyed out.
That's how it looks before a payment account is connected. You don't need it for this article.
The payment company you want is already under Connected.
You don't need to connect it again. If you're not sure whether it's the right account, email us before you change anything.
You opened the wrong company's screen.
Click the back arrow next to Manage Payment Integration to go back to Payment Integrations, then click Connect on the row you meant.
You can't find the payment company you want.
Scroll down through More Providers. If it isn't in the list, click Search For More (at the top right of the list, or the button under the last card).
Someone asks you to verify payment details "on your website."
Only act on requests you can see inside your payment company's own dashboard. If you're unsure whether a request is real, email us before you click anything.
What happens next
After you click Connect with Stripe, you continue with Stripe. Finishing the connection, and what you'll see back in Syndra afterwards, will be covered in a separate article. Until then, if anything's unclear after you click Connect with Stripe, or you're connecting a different payment company, email [email protected] and we'll help you through it.